Saturday, June 25, 2022

Sleeping Bear Dunes, part 2

For the second half of the trip, I had a couple more hikes planned. In the morning, after another round of sandwich making, we headed out for Alligator Hill. Alligator Hill has a total of nine miles of trails divided into three loops. We took the shortest loop to the Islands Lookout and back with a detour along the spur to the Big Glen Lookout, for a total of 4.3 miles, our longest single hike of the trip. The internet told me that Alligator Hill was a fun hike with great views of Lake Michigan and Glen Lake, but especially after the previous day the views were good but not amazing.

On the trail at Alligator Hill

The dirt trail is mostly wooded, and Alligator Hill is indeed a hill, so there is some ascending/descending, but nothing overly strenuous. After 1.3 miles, you reach the Islands Lookout which does give nice views of Lake Michigan, including North and South Manitou Island. While we were stopped to snack on bananas and take photos, we saw a bald eagle in the wild for the first time, and I did get a not entirely in focus picture with my telephoto lens. Shortly after that point, we turned off the main trail to the Big Glen Lookout. It was a 1.6 mile detour, and when we got to the clearing in the trees I’m not sure I can say it was really worth it. About all I can say about it is that it was a view of a lake.

View from the Islands Lookout

Back at the parking lot after a couple hours+, we piled back into the car and drove to the Dunes Trail to have lunch at the picnic area there. From there, we continued on to the last hike I had planned, Pyramid Point. Pyramid Point is another short trail that leads to a view of Lake Michigan. There’s a 2.7 mile loop, but we just did the 0.6 miles (one way) to the lookout and back. At the lookout, we had more large bird sightings – a small group of turkey vultures and a likely red-tailed hawk (the red tail was not visible in the photo I got). We took about an hour to hike up to the lookout, enjoy the lake from the top of the bluff, and hike down from the lookout.

View from Pyramid Point

At that point, it was midafternoon, and we’d completed all the hikes I had planned for us, so we drove around for a bit, stopped in Glen Haven (a former company town where you can still see the general store, cannery-turned-boathouse-museum, and blacksmith shop), then returned to the Airbnb early. After dinner, we walked to the beach for a Lake Michigan sunset, then closed out the night by watching Shrek Forever After.

From left to right: bald eagle, turkey vultures, red-tailed hawk

Sunset over Lake Michigan

We probably could have fit more into the trip, but we saw most of the main attractions, except maybe really getting to enjoy the beach and I’ve heard the Maritime Museum is interesting. It felt cooler than my Upper Peninsula trip back in October, but it didn’t rain. I’m really not a huge food/shopping person, so I didn’t mind the tradeoff of closed stores for no crowds. I shot the whole trip on my T6 with an ultrawide (10-18mm) and a telephoto (55-250mm) lens, and I think it works well for hiking trips, possibly not as good if we had been indoors more/at all. Overall, it was a good trip.

Tuesday, June 21, 2022

Sleeping Bear Dunes, part 1

Before leaving Ann Arbor, we took a quick family vacation to the west side of Michigan to see the Sleeping Bear Dunes, another one of the things you should probably see if you lived in Michigan for six years. Like Pictured Rocks, Sleeping Bear is National Lakeshore managed by the U.S. National Park Service; a weeklong pass for a private vehicle costs $25. We spent two full days at Sleeping Bear, and did four of the hikes in the Lakeshore, which covered most of the highlights of the area – climbing the dunes, spending some time on a Lake Michigan beach, and getting various views of the lake and dunes.

Our first day was primarily a travel day – we left Ann Arbor bright and more or less early, picked up my brother and his girlfriend in Kalamazoo, and arrived in Glen Arbor midafternoon after a stop for a lunch of pasties1 (another Michigan thing to try before leaving), an apple dumpling, and apple blueberry pie. The Airbnb we stayed at in Glen Arbor was nice, even if I was literally sleeping behind the closets of both actual bedrooms. After checking in and unpacking a little, we went out to explore Glen Arbor, walked to the beach, and had dinner at Cherry Republic.
 
Dunes Trail with Lake Michigan in the distance

The next morning, we set out on our second longest but most challenging and probably also most iconic hike, the 3.5 mile (round trip) Dunes Trail up the Dune Climb to Lake Michigan. We were at Sleeping Bear the weekend before Memorial Day, before the official tourist season started. Some amenities and restaurants were still closed for the winter, but enough was open that it was worth not dealing with crowds anywhere. The weather was cool (highs close to 289 K2) but clear throughout the entire trip, so shorts and jacket weather, plus extra jacket + glove-mittens for the wind off of Lake Michigan. There were about three cars in the parking lot when we got to the Dune Climb, and we eventually encountered a half dozen or so groups of people on our way to the lake.

The initial climb is the longest sustained incline, but you do have to climb and descend four more dunes on the way to Lake Michigan. The sand is indeed coarse, rough, and everywhere, but wasn’t too irritating. The entire route is on sand, though you pass through areas with dune grass, flowers, and small trees, and though the way is mostly straightforward, it’s marked with blue-tipped poles to steer people away from alligators areas where they’re trying to prevent erosion. At a fairly leisurely pace and stopping a lot to take photos, it took us about eighty minutes each way. We had lunch, part 1, when we got to Lake Michigan, where it was windy and cold, so we didn’t explore the water much. Back at the parking lot, we had lunch part 2, featuring more of my favorite vacation anytime food, peanut butter and jam sandwiches.

At Lake Michigan at the end of the Dunes Trail

After lunch, we stopped by the main visitor center, the Philip A. Hart Visitor Center, to pick up a park pass, map, and stamp, then continued on to our second hike of the day, the Empire Bluff Trail. The internet told me this was one of the most popular trails, so I guess we had to do it. It’s a relative quick 1.5 mile hike that goes through forest before coming out on a boardwalk that boasts views of Lake Michigan and the lakeshore. It was nice, worth doing, and only takes about an hour of your time.

View from Empire Bluff Trail

Finally, we drove the Pierce Stocking Scenic Drive, a 7.4-mile loop with a dozen stops where you can get out for photos, though a few of the stops appeared to have views of nothing but trees. When we were there, I believe the drive had just opened for the summer (it’s closed in the winter). You are allowed to bike it, though the NPS website advises only expert cyclists to attempt it. The overlooks, complete with informational signs, provide views of Lake Michigan, the dunes, and the Glen Lakes, and there are also some hikes and picnic areas that are accessed from the drive. We spent about an hour and a half driving, stopping, getting out of the car, enjoying the views, getting back in the car, etc. before heading back to our Airbnb for the night. All in all, it was a successful first day of our trip.

At the Lake Michigan Overlook on Pierce Stocking Drive

1A pasty is a hand pie filled with meat and root vegetables (potatoes, rutabaga, etc.) brought to Michigan from Cornwall.

260 F/16 C

Tuesday, May 17, 2022

All About Birds

Despite telling myself that I would not start crawling around in the bushes looking for nuthatches and titmouses (titmice?) or become one of those people they make movies about, shortly after getting my telephoto lens, I started trying some bird photography. Wildlife is generally regarded as one of the more expensive genres of photography to get into, because it’s an area where you do really need the reach of a long telephoto, and super-telephotos aren’t cheap. I sacrificed an extra 50 mm of zoom to avoid Canon’s most-hated 75-300mm lens in favor of the 55-250mm, which gives me a maximum focal length of 250 mm (400 mm full frame equivalent).

So far, hiking-liteTM through suburban/urban park areas where birds are abundant and somewhat used to human activity, I’ve found 250 mm is enough for large birds like swans and geese, and is okay for smaller birds if you’re a little patient and/or very quiet. Beyond 10 or 20 feet away, though, small birds start turning into little blobs, which is why it’s not uncommon for wildlife photographers to be looking for lenses with 500-600 mm focal lengths, at minimum. I started out in winter when I knew a lot of ducks and geese would be hanging out on the Huron River at Gallup Park. There I saw hoards of Canada geese and mallards, plus some trumpeter swans and a pair of hooded mergansers. Also a northern cardinal and some potential vireos (maybe warbling vireos, but they’re not supposed to winter in the north) trying to stay warm in the trees along the shore.

Hooded merganser (male)

Unidentified vireo-like bird

As spring came to Michigan, a lot of the smaller songbirds returned. There’s one spot in particular that has tons of birds and I’ve seen a number of actual birdwatchers there. I’ve so far managed to identify a great blue heron, more mallards, a bunch of hooded mergansers that spent a couple weeks there, lots of red-winged blackbirds, some blue jays and cardinals, plenty of American robins and grackles, a pair of mourning doves, a yellow-rumped warbler, a yellow warbler, and possibly a northern waterthrush. On a trip to the arboretum, I found a couple downy woodpeckers and a red-bellied woodpecker. There’s also the Cooper’s/sharp-shinned hawk I saw once before I had my telephoto lens.

Great blue heron

Grackle

Besides all these, I’m sure there are dozens of other species I haven’t managed to recognize, and I probably should get better at identifying bird calls. Most of the identifications so far come courtesy of the Cornell Lab of Ornithology’s All About Birds website and a lot of scrolling through bird pictures. Until next time; I’ll be back to hiding in the brush wearing out my shutter. Remind me to start doing tick checks again. I don’t particularly need or want Lyme disease.

Red-bellied woodpecker

Tuesday, May 10, 2022

Sensor Showdown

I previously wrote about camera sensors – how they work, sensor size, and a comparison of various sensors in cameras that I’ve owned plus a couple that I haven’t. What I didn’t do there was directly compare photos from my cameras. I suspect that at web publication size it’s going to be difficult to tell the difference, but let’s find out.

I found a couple pairs of pictures among my thousands of photos of similar, though not exactly the same, scenes, taken by 1) the Fujifilm FinePix XP55 (point and shoot) vs. the Canon Rebel T6 (APS-C DSLR) and 2) the Samsung Galaxy Orbit J3 (my mostly functioning phone) vs. the T6. To compare, I’ll be showing both the full photo and some crops at 100%. Normally you don’t zoom in to 100%, because 18 or even 12 MP is plenty for the majority of applications, especially scrolling through social media on your phone, but for the purposes of this exercise we’re doing it.

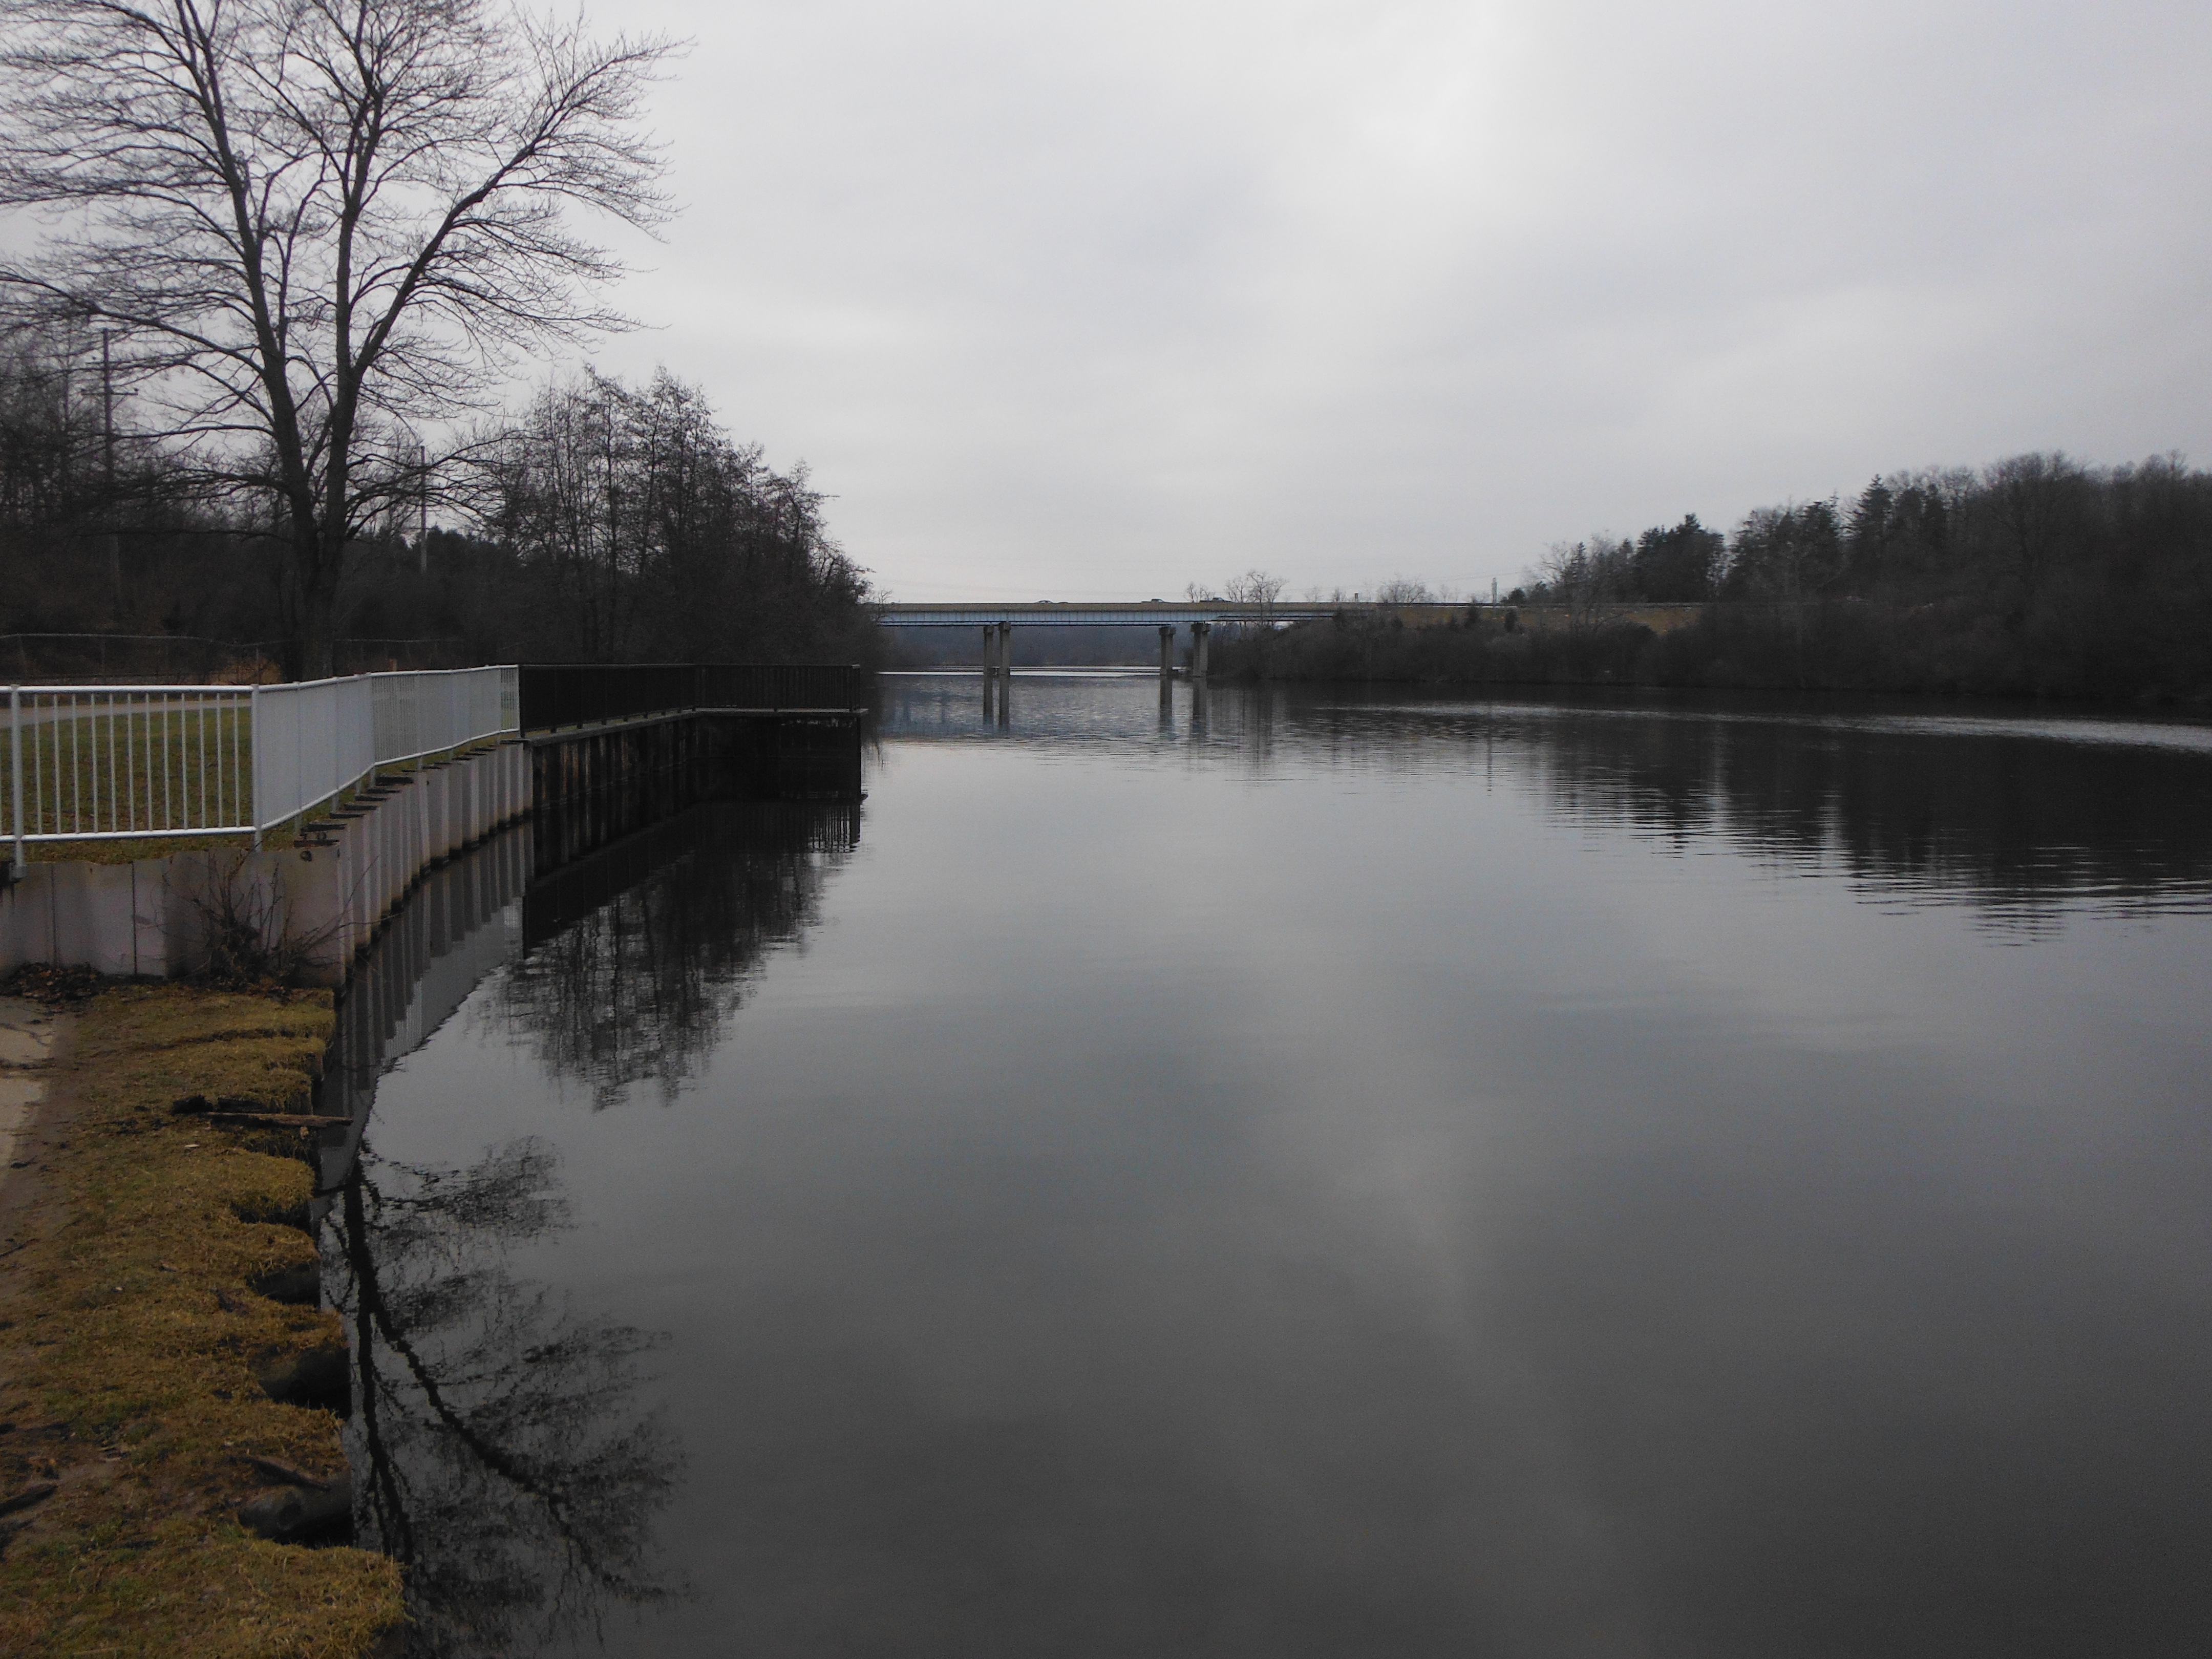
First up, we’ll look at the Huron River at one end of Gallup Park on the Border to Border Trail. The point and shoot picture was taken on the last day of 2021 when I was taking advantage of 40 degree (F) weather to go for a bike ride. The DSLR photo was taken on the first day of February when it also hit 40 F but we’d had enough cold weather to partially freeze the Huron and there was some snow on the ground. So obviously the conditions were different, but the framing is very similar (the 35mm/full frame field of view equivalents1 are 28 mm and 28.8 mm for the XP55 and T6 respectively, so essentially the same). In terms of the other settings, the XP55 used a larger aperture, but with such a short focal length more or less everything is in the range of acceptable focus. With the T6 at f/8 and focusing on the bridge in the background, the depth of field extends to all the way from infinity up to a couple meters in front of me. Both shutter speeds should have been fast enough to avoid camera shake, and the ISOs were the same.

Fujifilm FinePix XP55, 5 mm, f/3.9, 1/150 s, ISO-100

Canon Rebel T6, 18 mm, f/8, 1/100 s, ISO-100

Overall, I think the T6 photo is sharper, and it retained better texture in the sky, which could have been because of the different weather conditions, but I would expect the T6 to have a better dynamic range (the maximum different between light and dark areas that a camera can capture in a single exposure – for the T6 it’s 10 stops; the human eye sees about 21 stops) than the XP55. If we zoom in all the way, the front tree is decidedly sharper on the T6, and if we look at the railing section, the T6 photo is both sharper and less noisy.

XP55 (left) vs. T6 (right)

Next I have a couple photos from separate trips to the library. Again, the T6 photo is overall sharper, which can be seen if I zoom in all the way and try to read some of the book titles. It’s not hugely obvious in the crops below, which proves my point about web resolution. The other part of the photo where the T6 looks sharper than my phone is actually the overhead light fixture. Again, not super obvious below, more obvious on my computer at 100%. The one point that the phone comes out ahead on is its significantly larger aperture that lets in something like 8 times (3 full stops) as much light as the maximum aperture on my DSLR’s wide angle lens, allowing for a much lower ISO. It’s not as noticeable around the books, but I can kind of tell zoomed in to some of the areas that are more monotone in color that the DSLR photo is noisier.

Samsung Galaxy Orbit J3, 3 mm, f/1.9, 1/40 s, ISO-125

Canon Rebel T6, 18 mm, f/5.6, 1/60 s, ISO-1600

Phone (left) vs. T6 (right)

To conclude, yes, a sensor with a 10-30x greater area outperforms a ten year old point and shoot and a Tracfone. However, unless the photo is obviously not in focus (quite possible with my phone photography), you may not be able to tell online, and probably not with small prints either. Where people would be able to tell in practical applications (i.e. not zoomed in at 100% on a computer looking at individual twigs on a tree) is with cropping and larger prints. Lugging around a DSLR is worth it for me for the improved low light performance, ability to change camera settings, and intentionality of framing a photo, but if you only ever look at photos on your phone and rarely print anything, you can probably save your back and your wallet with a halfway decent phone.

1Crop factor can get confusing, but the relevant information here is that it’s based on sensor size compared to the “standard” 35 mm or full frame format. The T6 has a crop factor of 1.6 and the XP55’s 1/2.3” sensor has a crop factor of 5.6 so that focal lengths of 18 mm and 5 mm respectively give the same field of view as a 28 mm lens on a full-frame camera.

Saturday, April 30, 2022

Sense and Sensor-bility

While I was looking things up for my post about how I ended up with the Canon Rebel T6 and my lens trifecta, I also got sucked into finding out about camera specifications, which led to camera sensors. Turns out it was a bit of a rabbit hole.

To start, digital camera sensors are the equivalent of film in analog cameras. They capture light and record color to reproduce images. Older digital cameras often used CCD (charge coupled device) sensors, but they’ve since been replaced by CMOS (complementary metal oxide semiconductor) sensors. Both types of sensors rely on photosensitive semiconductors that convert light into electric charge. The charge is then converted into voltage, and the correlation between light (brightness) and voltage can be used to recreate the photograph. CCD sensors are analog devices that send the charges from each semiconductor through an output node to be transformed into voltage while CMOS sensors convert charge to voltage at each individual pixel. While CCD sensors were originally the sensor of choice because of their low noise, CMOS sensors are cheaper and require less power, and technological advances have improved image quality to equal or better CCD sensors.

For color photography, a color filter array sits on top of the sensor. Commonly used in digital cameras today is the Bayer filter, which contains RBG color filters arranged in a checkerboard-like pattern on the pixel array of a sensor. The Bayer filter has 50% green filters, 25% red filters, and 25% blue filters, which reflects the physiology of the human eye. Because each pixel now only sees either red, blue, or green, the image needs to be processed with a demosaicing algorithm to give each pixel RBG values. For example, a green pixel has its green value measured directly, then can get its red and blue values by interpolating from its red and blue neighbors.

At the library
[Samsung Galaxy J3 Orbit, 3 mm, f/1.9, 1/40 s, ISO-125]

Finally, on to sensor size. In filmmaking and film photography, 35 mm film was the most commonly used film size, so when digital cameras became a thing, a sensor size that matched 35 mm film – 36mm x 24mm – became known as “full frame.” In general, bigger sensors/film require bigger lenses/cameras that are more expensive, so camera manufacturers also came out with so-called “crop sensor” or “APS-C” cameras with sensors typically sized at 22.3mm x 14.9mm (Canon) or 23.5mm x 15.6mm (every other brand). Then there’s the Micro Four Thirds System, 1-inch sensors, and once you get smaller than that (as in a lot of point and shoot/phone cameras), sensor size is usually expressed as something like 1/2.3”. This number ostensibly refers to the diagonal of the sensor, but it’s based on old video camera tubes, which were sized based on outer diameter, not usable inside area, so a 1/2.3” (0.435”) sensor actually has a diagonal of around 0.3” and dimensions of 0.24” x 0.18” (6.17mm x 4.55mm).

Argo Park on the Border to Border
[Fujifilm FinePix XP55, 7 mm, f/4.3, 1/58 s, ISO-100] 

Once you have your sensor, you then divide it into thousands of areas that each correspond to a pixel. The bigger a pixel is, the more light it individually captures, and the better it can capture whatever you’re photographing. For example, the Fujifilm FinePix XP55 has a 1/2.3” sensor and a resolution of 4320 x 3240 so has a pixel size of about 1.4 microns on a side (6.17 mm/4320 = 1.4 microns). My Rebel has the Canon APS-C sensor and a resolution of 5184 x 3456, giving a pixel size of ~4.3 microns. So even though the megapixels aren’t that different (4320 x 3240 = 14 million pixels, or 14 megapixels vs. 5184 x 3456 = 18 MP), the larger sensor and pixel sizes mean improved picture quality.

Tree at sunset
[Canon Rebel T6, 55 mm, f/8, 1/160 s, ISO-100]

Out of interest, I tabulated the specifications for a number of cameras I’ve owned below. The top of the table (click to enlarge) is digital cameras and the bottom is phone cameras. For fun I included Canon’s current most expensive professional mirrorless camera, the R5, which at $3899 for the body alone I don’t anticipate owning any time soon, if ever (I’ll be holding out for a mirrorless crop sensor R-mount camera for when I need to replace my T6; the current APS-C mirrorless line uses a different lens mount with few native lenses and like Canon’s entire range of DSLRs and lenses, seems to be a developmental dead end.). I also put in Apple’s latest and greatest offering, the iPhone 13 Pro, for comparison with my phone, which cost about the same as a pair of Airpods.

I was surprised by a few things, and unsurprised by others. First, I didn’t realize that my DSLR didn’t have many more megapixels than the FinePix XP55 or even the PowerShot SD1300. The sensor size, however, is over 11 times larger in area, and jumping up to a full frame sensor, though it doesn’t look massively larger, still more than doubles sensor area. On the flipside of things, I think I’m justified in my dislike for my phone camera, which at best has a sensor less than half the size of a 16-year-old digital camera. And even though one of the most advanced iPhones has surpassed my more recent point and shoots in sensor size, that sensor is still less than a sixth of the size of my entry level DSLR’s, which is one reason why people still pay hundreds and thousands of dollars for DSLRs and mirrorless cameras.


1My phone camera (unsurprisingly?) not only has microscopic sensors, but also non-standard size sensors, so the inch equivalent is approximated from the sensor dimensions.

2I couldn’t find the aspect ratio for the iPhone’s sensor, but it’s stated to be a 1/1.65” sensor, so those are the approximate sensor dimensions and resolution based on a 4:3 aspect ratio and the given megapixels. Calculations are for the iPhone’s best (largest sensor/most megapixels) camera.